Big Frankenstein Rice Krispie Treat Recipe Fun
Big Frankenstein Rice Krispie Treats are a towering, delicious centerpiece for any Halloween bash. These aren’t your average, small, square treats; they’re a fun, edible monster that everyone will remember. Making these giant green guys is a fantastic activity to do with kids, and the end result is always met with excited gasps. The best part is how easily you can customize their spooky faces. We’ll use simple ingredients you probably already have in your pantry to build our very own Frankenstein. It’s a project that’s as satisfying to assemble as it is to devour, making it a must-try for your next spooky celebration or just a fun weekend baking project.
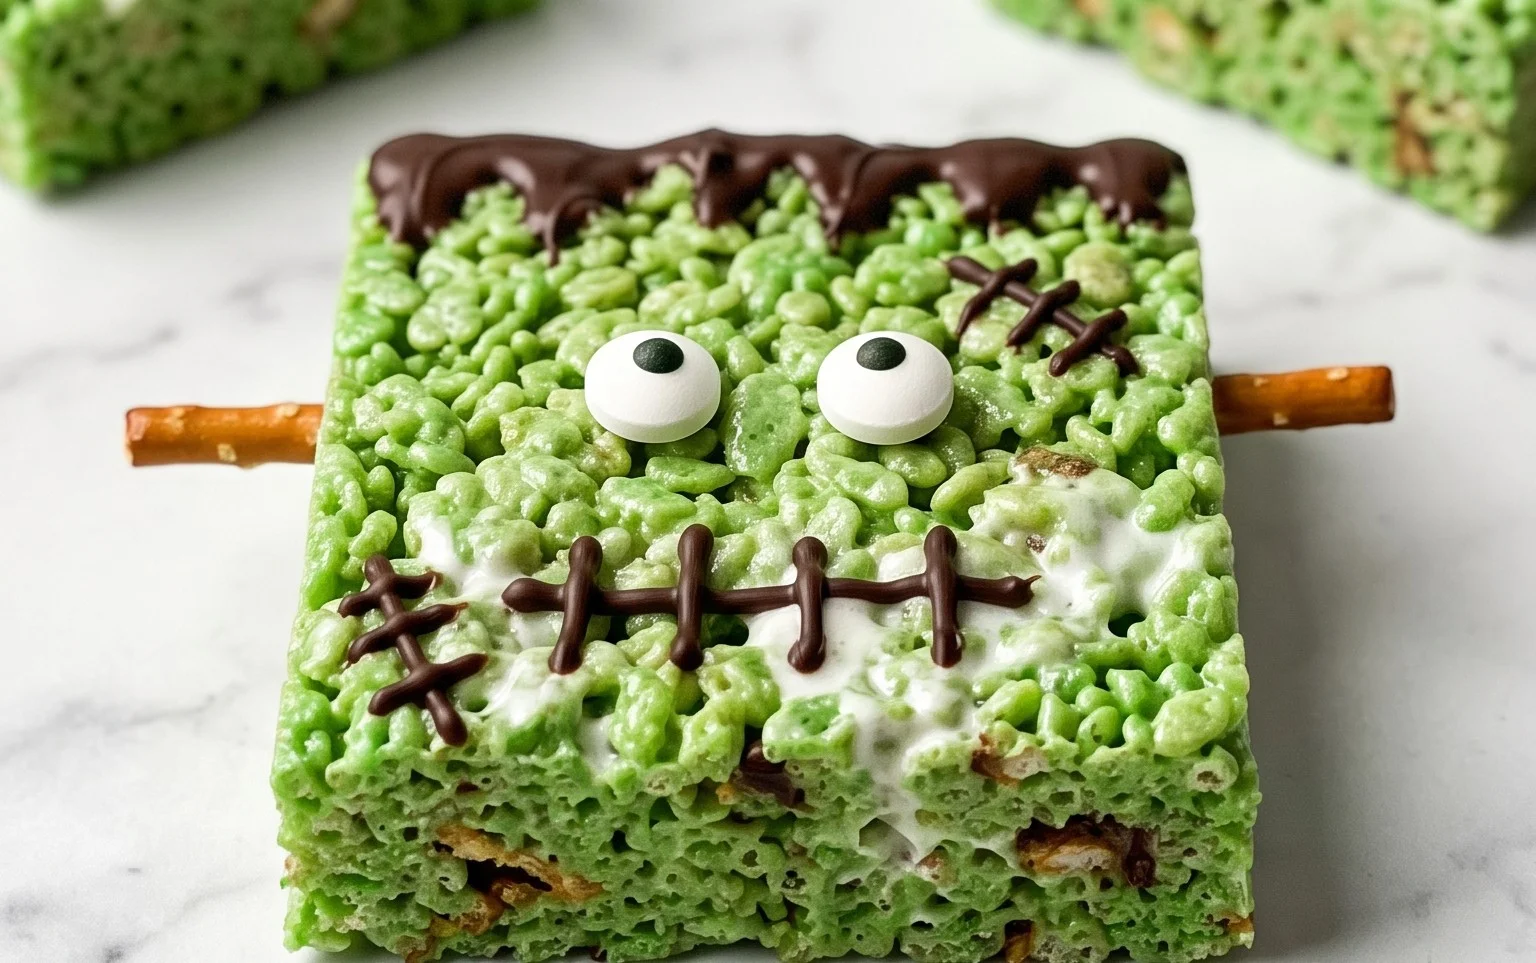
Big Frankenstein Rice Krispie Treat
These giant Frankenstein Rice Krispie treats are so much fun to make and even more fun to eat. They’re perfect for Halloween parties, school events, or just a spooky treat to make at home. The iconic green color and his stitched-together look are surprisingly easy to achieve with basic ingredients and a little patience. We’re going to build a monster that’s delicious and impressive.
Ingredients:
- 3/4 cup unsalted butter
- 1 1/2 10 ounce bags mini marshmallows
- Green food dye
- 1/2 teaspoon pure vanilla extract
- 9 cups Rice Krispies (generic brand works great too)
- 1/2 cup melted chocolate or chocolate frosting (for the hair and mouth)
- Sprinkles
- 1 large marshmallow
- 2 brown M&Ms or Junior Mints
- 1 pokey stick (or you can use extra melted chocolate)
Making the Monster Base
The first step is to create the giant batch of Rice Krispie treat mixture that will form our Frankenstein. You’ll need a very large pot or a large, heavy-bottomed saucepan. Melt the 3/4 cup of unsalted butter over low heat. Keep the heat low so the butter doesn’t brown, which can affect the taste. Once the butter is fully melted, add both 10-ounce bags of mini marshmallows. Stir them constantly with a heat-proof spatula. You want the marshmallows to melt slowly and evenly. This usually takes about 5 to 7 minutes. Don’t rush this process; letting them melt too quickly can make the treats too stiff.
Once the marshmallows are almost completely melted and smooth, it’s time to add the color. Add green food dye, a few drops at a time, stirring thoroughly after each addition until you reach a bright, Frankenstein-esque green. The exact amount of dye will depend on the brand and how saturated you want the color. Stir in the 1/2 teaspoon of pure vanilla extract. Vanilla extract adds a subtle sweetness and depth of flavor that complements the buttery, marshmallowy base. Make sure everything is well incorporated.
Remove the pot from the heat. Now, add the 9 cups of Rice Krispies cereal. This is where a big spatula is really helpful. Fold the cereal into the marshmallow mixture until it’s all evenly coated. You want every single piece of Rice Krispie to be covered in the green, gooey marshmallow goodness. Work quickly but gently. Overmixing or pressing down too hard can crush the cereal, resulting in a denser, less airy treat.
Shaping Your Frankenstein
Prepare a very large baking dish or a cookie sheet lined with parchment paper. A 9×13 inch pan is usually too small for this much cereal mixture, so you might need to use a large rimmed baking sheet or even shape it directly on a large piece of parchment paper on your counter. Lightly grease your hands or a spatula with butter or cooking spray to prevent sticking. This is a sticky business! Carefully transfer the entire mixture into your prepared area. Spread it out into a large, roughly rectangular or slightly oval shape to resemble Frankenstein’s head and body. If you’re making a head, aim for a large circle or slightly squarish shape. If you’re making a full body, make it larger and more elongated.
Gently press the mixture down, but again, avoid compacting it too much. The goal is for the treats to hold their shape but still be delightfully chewy. You can use a piece of parchment paper on top to press it down evenly without your hands sticking too much. Allow the giant treat to cool and set for at least 30-60 minutes. It needs to firm up considerably before you can start decorating, otherwise, it will just fall apart.
Decorating the Monster
Once your giant Rice Krispie treat base has cooled and set, it’s time to bring Frankenstein to life! This is where the fun really begins. You’ll need your melted chocolate or chocolate frosting for the hair and mouth. If you’re using chocolate chips, melt them gently in the microwave in 30-second intervals, stirring in between, or use a double boiler. If using frosting, make sure it’s spreadable.
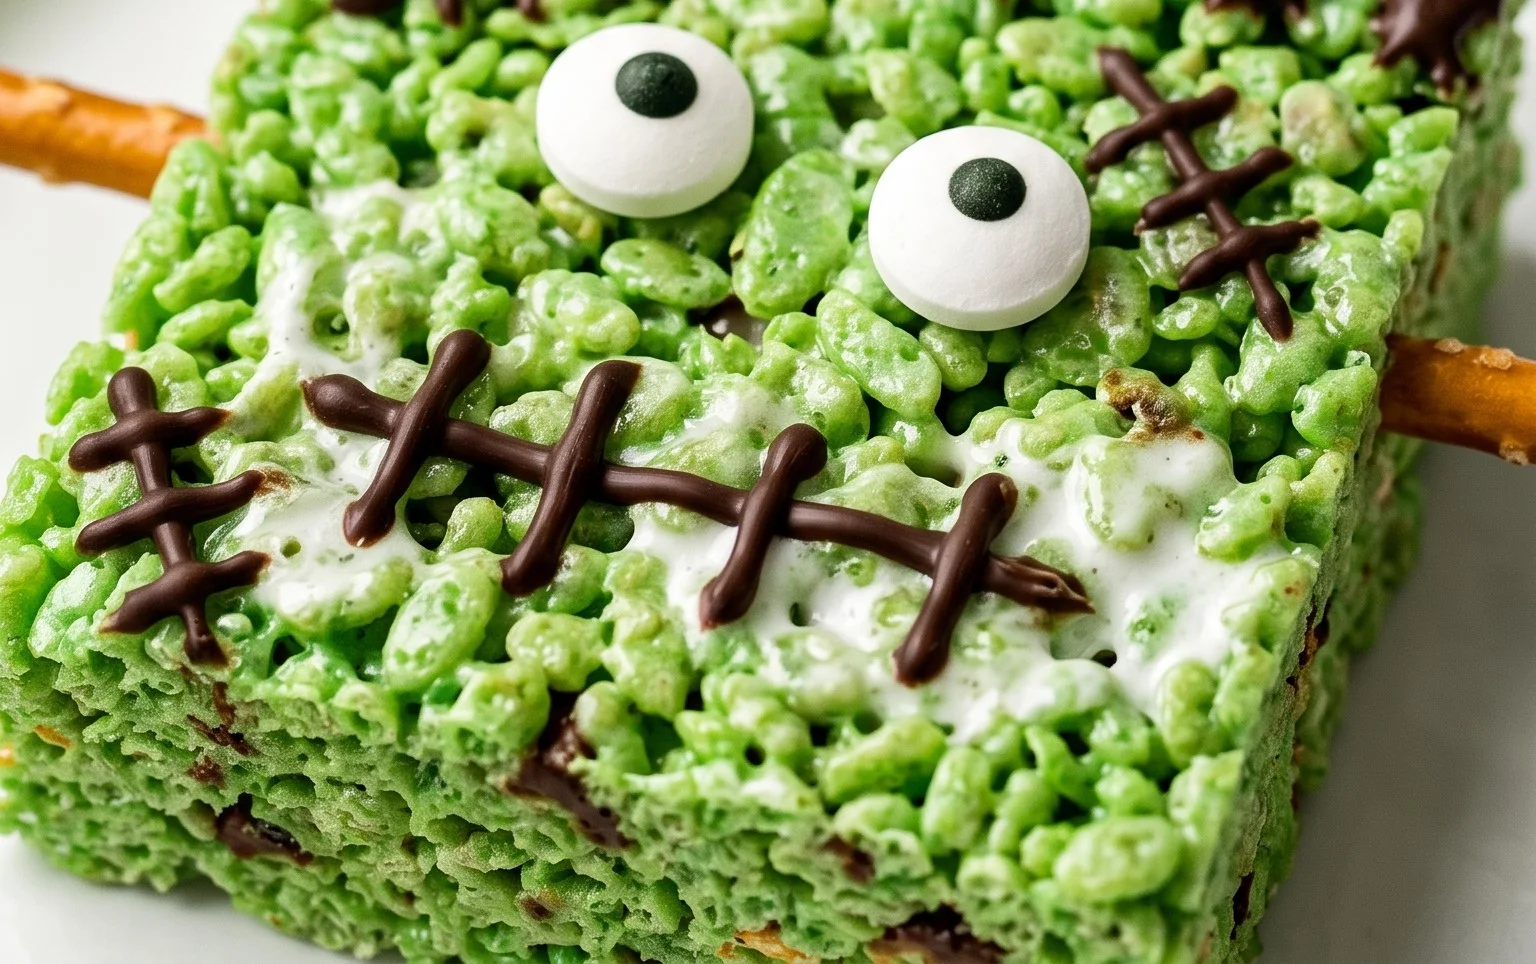
Step 1: Hair and Mouth. Using a piping bag with a plain tip or a ziplock bag with a corner snipped off, pipe lines of melted chocolate or frosting onto the top of the treat to create Frankenstein’s messy hair. Then, create a wide, somewhat crooked smile for his mouth. You can also add lines to suggest stitches on the forehead or cheeks.
Step 2: The Eyes. For the eyes, place the 2 brown M&Ms or Junior Mints onto the treat where you want Frankenstein’s eyes to be. If they don’t stick well, you can use a tiny bit of melted chocolate on the back of them to secure them.
Step 3: The Bolt. This is where the large marshmallow and the pokey stick come in. You can shape the large marshmallow slightly to resemble Frankenstein’s bolt. Insert the pokey stick into the marshmallow. You can then either stick the marshmallow bolt directly into the top of the treat, or if you want it to look more like it’s attached, pipe a little extra melted chocolate around the base where it meets the treat.
Step 4: Stitches and Details. Use the remaining melted chocolate or frosting to draw stitch marks. You can add a few vertical lines on the sides of the face or on the neck area if you made a full body. Don’t aim for perfection; Frankenstein’s stitches are often a bit crude and uneven, which adds to his charm.
Step 5: Finishing Touches. Add sprinkles around the base or even lightly over the hair for extra flair. You can use green, black, orange, or even spooky Halloween-themed sprinkles. If your melted chocolate starts to harden too much while you’re decorating, you can pop it back into the microwave for a few seconds to loosen it up. If you run out of melted chocolate for decorating and still need to add details, chocolate frosting is a great substitute. Just make sure it’s thick enough not to run.
Let the decorated treat set completely before slicing and serving. This allows the chocolate to harden and makes cutting easier. Cut into large squares or even monster-shaped pieces. These are best enjoyed the day they are made, as Rice Krispie treats can become harder the longer they sit out, but they are still delicious for a couple of days if stored in an airtight container at room temperature.
Conclusion:
You’ve now got all the steps to create your own towering Big Frankenstein Rice Krispie Treat! This recipe is all about bringing a big, spooky smile to your party with a treat that’s impressive in size but simple to make. The combination of crispy cereal, gooey marshmallows, and sweet chocolate makes it a hit with both kids and adults. They’re perfect for Halloween parties, school events, or just to make your week a little more monstrous. Feel free to get creative with the decorations – maybe add some edible googly eyes or some candy corn stitches!
Serving Suggestions:
Serve your giant Frankenstein as a whole centerpiece dessert, or carefully slice it into large portions. It pairs wonderfully with a cold glass of milk. For smaller gatherings, you can also scale down the recipe to make individual Frankenstein heads.
Variations:
Don’t have mini marshmallows? You can use the same amount of large marshmallows. If you’re short on time, store-bought chocolate frosting works just as well as melted chocolate for decorating. You can even add a drop of black food coloring to the melted chocolate for a sharper contrast in the hair and mouth.
Frequently Asked Questions:
Can I make these treats ahead of time?
Yes, you can make the Rice Krispie treat base a day in advance. Let it cool completely, then cover it tightly with plastic wrap. Decorate closer to serving time for the best appearance.
How do I store leftover Frankenstein Rice Krispie treats?
Store any leftovers in an airtight container at room temperature for up to 2 days. If it’s very warm, you might want to place them in a slightly cooler spot in your house.
My treats are too hard. What did I do wrong?
This usually happens if the marshmallows were cooked too long or over high heat. Make sure to melt the butter over low heat and stir the marshmallows constantly until just melted and smooth, then quickly combine with the cereal.
Big Frankenstein Rice Krispie Treat
A giant, festive Rice Krispie treat shaped and decorated like Frankenstein’s monster, perfect for Halloween parties.
Ingredients
-
3/4 cup unsalted butter
-
1 1/2 10 ounce bags mini marshmallows
-
green food dye
-
1/2 teaspoon pure vanilla extract
-
9 cups rice krispies
-
1/2 cup melted chocolate or chocolate frosting
-
sprinkles
-
1 large marshmallow
-
2 brown m&ms or junior mints
-
1 pokey stick
Instructions
-
Step 1
Grease a large baking pan or a large bowl. Melt butter in a large saucepan over low heat. -
Step 2
Add marshmallows and stir until completely melted. Remove from heat. Stir in green food dye until desired monster green color is achieved. Stir in vanilla extract. -
Step 3
Add Rice Krispies cereal and stir until well coated. Press mixture firmly into the greased pan or bowl. -
Step 4
Allow to cool and set. Once set, unmold or cut into a Frankenstein shape. Use melted chocolate or frosting to create hair and a mouth. Attach m&ms for eyes and a large marshmallow for the forehead. -
Step 5
Use the pokey stick (or extra chocolate) to create stitches or bolt details. Decorate with sprinkles as desired.
Important Information
Nutrition Facts (Per Serving)
It is important to consider this information as approximate and not to use it as definitive health advice.
Allergy Information
Please check ingredients for potential allergens and consult a health professional if in doubt.